React Native Navigation

Last Updated: May 2025
 View on GitHub
In this guide, I will show you how to implement navigation in React Native using the React Navigation package.
Using React Navigation
-
First install the required React Navigation packages
npm install @react-navigation/native @react-navigation/native-stack -
Install
react-native-screensandreact-native-safe-area-context
-
Expo:
npx expo install react-native-screens react-native-safe-area-context -
Without Expo:
npm install react-native-screens react-native-safe-area-context
- Pod install
cd ios
pod install
cd ..
- Wrap the entry point of your app (
App.tsxin my case) withNavigationContainer:
// App.tsx

import {DefaultTheme, NavigationContainer} from '@react-navigation/native';
import {createNativeStackNavigator} from '@react-navigation/native-stack';
import React from 'react';
import HomeScreen from './src/screens/HomeScreen';
import ProfileScreen from './src/screens/ProfileScreen';

const Stack = createNativeStackNavigator();

function App() {
  return (
    <NavigationContainer>
      // ...
    </NavigationContainer>
  );
}

export default App;
- Create
Stackand set upNavigationStack:
// App.tsx

import {DefaultTheme, NavigationContainer} from '@react-navigation/native';
import {createNativeStackNavigator} from '@react-navigation/native-stack';
import React from 'react';
import HomeScreen from './src/screens/HomeScreen';
import ProfileScreen from './src/screens/ProfileScreen';

const Stack = createNativeStackNavigator();

function App() {
  return (
    <NavigationContainer>
      <Stack.Navigator> // add this
        <Stack.Screen name="Home" component={HomeScreen} /> // populate with your app's screens
        <Stack.Screen name="Profile" component={ProfileScreen} />
      </Stack.Navigator>
    </NavigationContainer>
  );
}

export default App;
Using Navigation Example
To navigate from one screen to another:
...

function HomeScreen(navigation) {
  return (
    <View style={{flex: 1,padding: 5, alignItems: 'center', justifyContent: 'center'}}>
      <Text>Welcome to the HomePage</Text>
      <Button
        title="Go to the profile screen"
        onPress={() => navigation.navigate('Profile')}
      />
    </View>
  );
}

...
- Run your app and test the navigation
If you get this Unimplemented Component error:

Run npx react-native start --reset-cache to clear the metro bundler cache or restart the app.
TypeScript Navigation Types:
If you're using TypeScript, you will need to set up navigation types.
-
Install
npm install --save-dev @types/react -
Create a file where you can define your navigation and route param types,
src/types/NavigationTypes.ts
- Import the navigation and route Props
import {NativeStackNavigationProp} from '@react-navigation/native-stack';
import {RouteProp} from '@react-navigation/native';
- Create
RootStackParamListtype. This is where you will define the parameters for each of your screens. In this example, my profile page takesnamein the form of astring:
export type RootStackParamList = {
  Home: undefined;
  Profile: {name: string};
};
- Create
HomeScreenNavigationPropandProfileScreenRouteProptypes. You'll need to do this for each screen in your app.
export type HomeScreenNavigationProp = NativeStackNavigationProp<
  RootStackParamList,
  'Home'
>;

export type ProfileScreenRouteProp = RouteProp<RootStackParamList, 'Profile'>;
- All Together:
import {NativeStackNavigationProp} from '@react-navigation/native-stack';
import {RouteProp} from '@react-navigation/native';

export type RootStackParamList = {
  Home: undefined;
  Profile: {name: string};
};

export type HomeScreenNavigationProp = NativeStackNavigationProp<
  RootStackParamList,
  'Home'
>;

export type ProfileScreenRouteProp = RouteProp<RootStackParamList, 'Profile'>;
- Add the type (HomeScreenNavigationProp) into screen:
- Import your
HomeScreenNavigationPropintoHomeScreen
import {HomeScreenNavigationProp} from '../types/NavigationTypes';
- Define type
Propswhich will be used as our navigation type
type Props = {
  navigation: HomeScreenNavigationProp;
};
- Have HomeScreen accept navigation as an argument
function HomeScreen({navigation}: Props): React.JSX.Element {
  // ...
}
- Completed
HomeScreen.tsx:
// HomeScreen.tsx
import React from 'react';
import {Button, Text, View} from 'react-native';
import {HomeScreenNavigationProp} from '../types/NavigationTypes';

type Props = {
  navigation: HomeScreenNavigationProp;
};

function HomeScreen({navigation}: Props): React.JSX.Element {
  return (
    <View style={{padding: 5, alignItems: 'center', justifyContent: 'center'}}>
      <Button
        title="Go to the profile screen"
        onPress={() => navigation.navigate('Profile', {name: "Jane"})}
      />
    </View>
  );
}

export default HomeScreen;
- Do the same for your other screens
// ProfileScreen.tsx

import React from 'react';
import {Text, View} from 'react-native';
import {ProfileScreenRouteProp} from '../types/NavigationTypes';

type Props = {
  route: ProfileScreenRouteProp;
};

function ProfileScreen({route}: Props): React.JSX.Element {
  const {name} = route.params;

  return (
    <View style={{padding: 5, alignItems: 'center', justifyContent: 'center'}}>
      <Text>Welcome, {name}!</Text>
    </View>
  );
}

export default ProfileScreen;
- Add
RootStackParamListas the type ofStackinApp.tsx
// App.tsx

import {NavigationContainer} from '@react-navigation/native';
import {createNativeStackNavigator} from '@react-navigation/native-stack';
import React from 'react';
import HomeScreen from './src/screens/HomeScreen';
import ProfileScreen from './src/screens/ProfileScreen';
import { RootStackParamList } from './src/types/NavigationTypes';

const Stack = createNativeStackNavigator<RootStackParamList>(); // ⭐️ add type here!

function App(): React.JSX.Element {
  return (
    <NavigationContainer>
      <Stack.Navigator>
        <Stack.Screen name="Home" component={HomeScreen} />
        <Stack.Screen name="Profile" component={ProfileScreen} />
      </Stack.Navigator>
    </NavigationContainer>
  );
}

export default App;
Now you can navigate between the home screen and the profile page
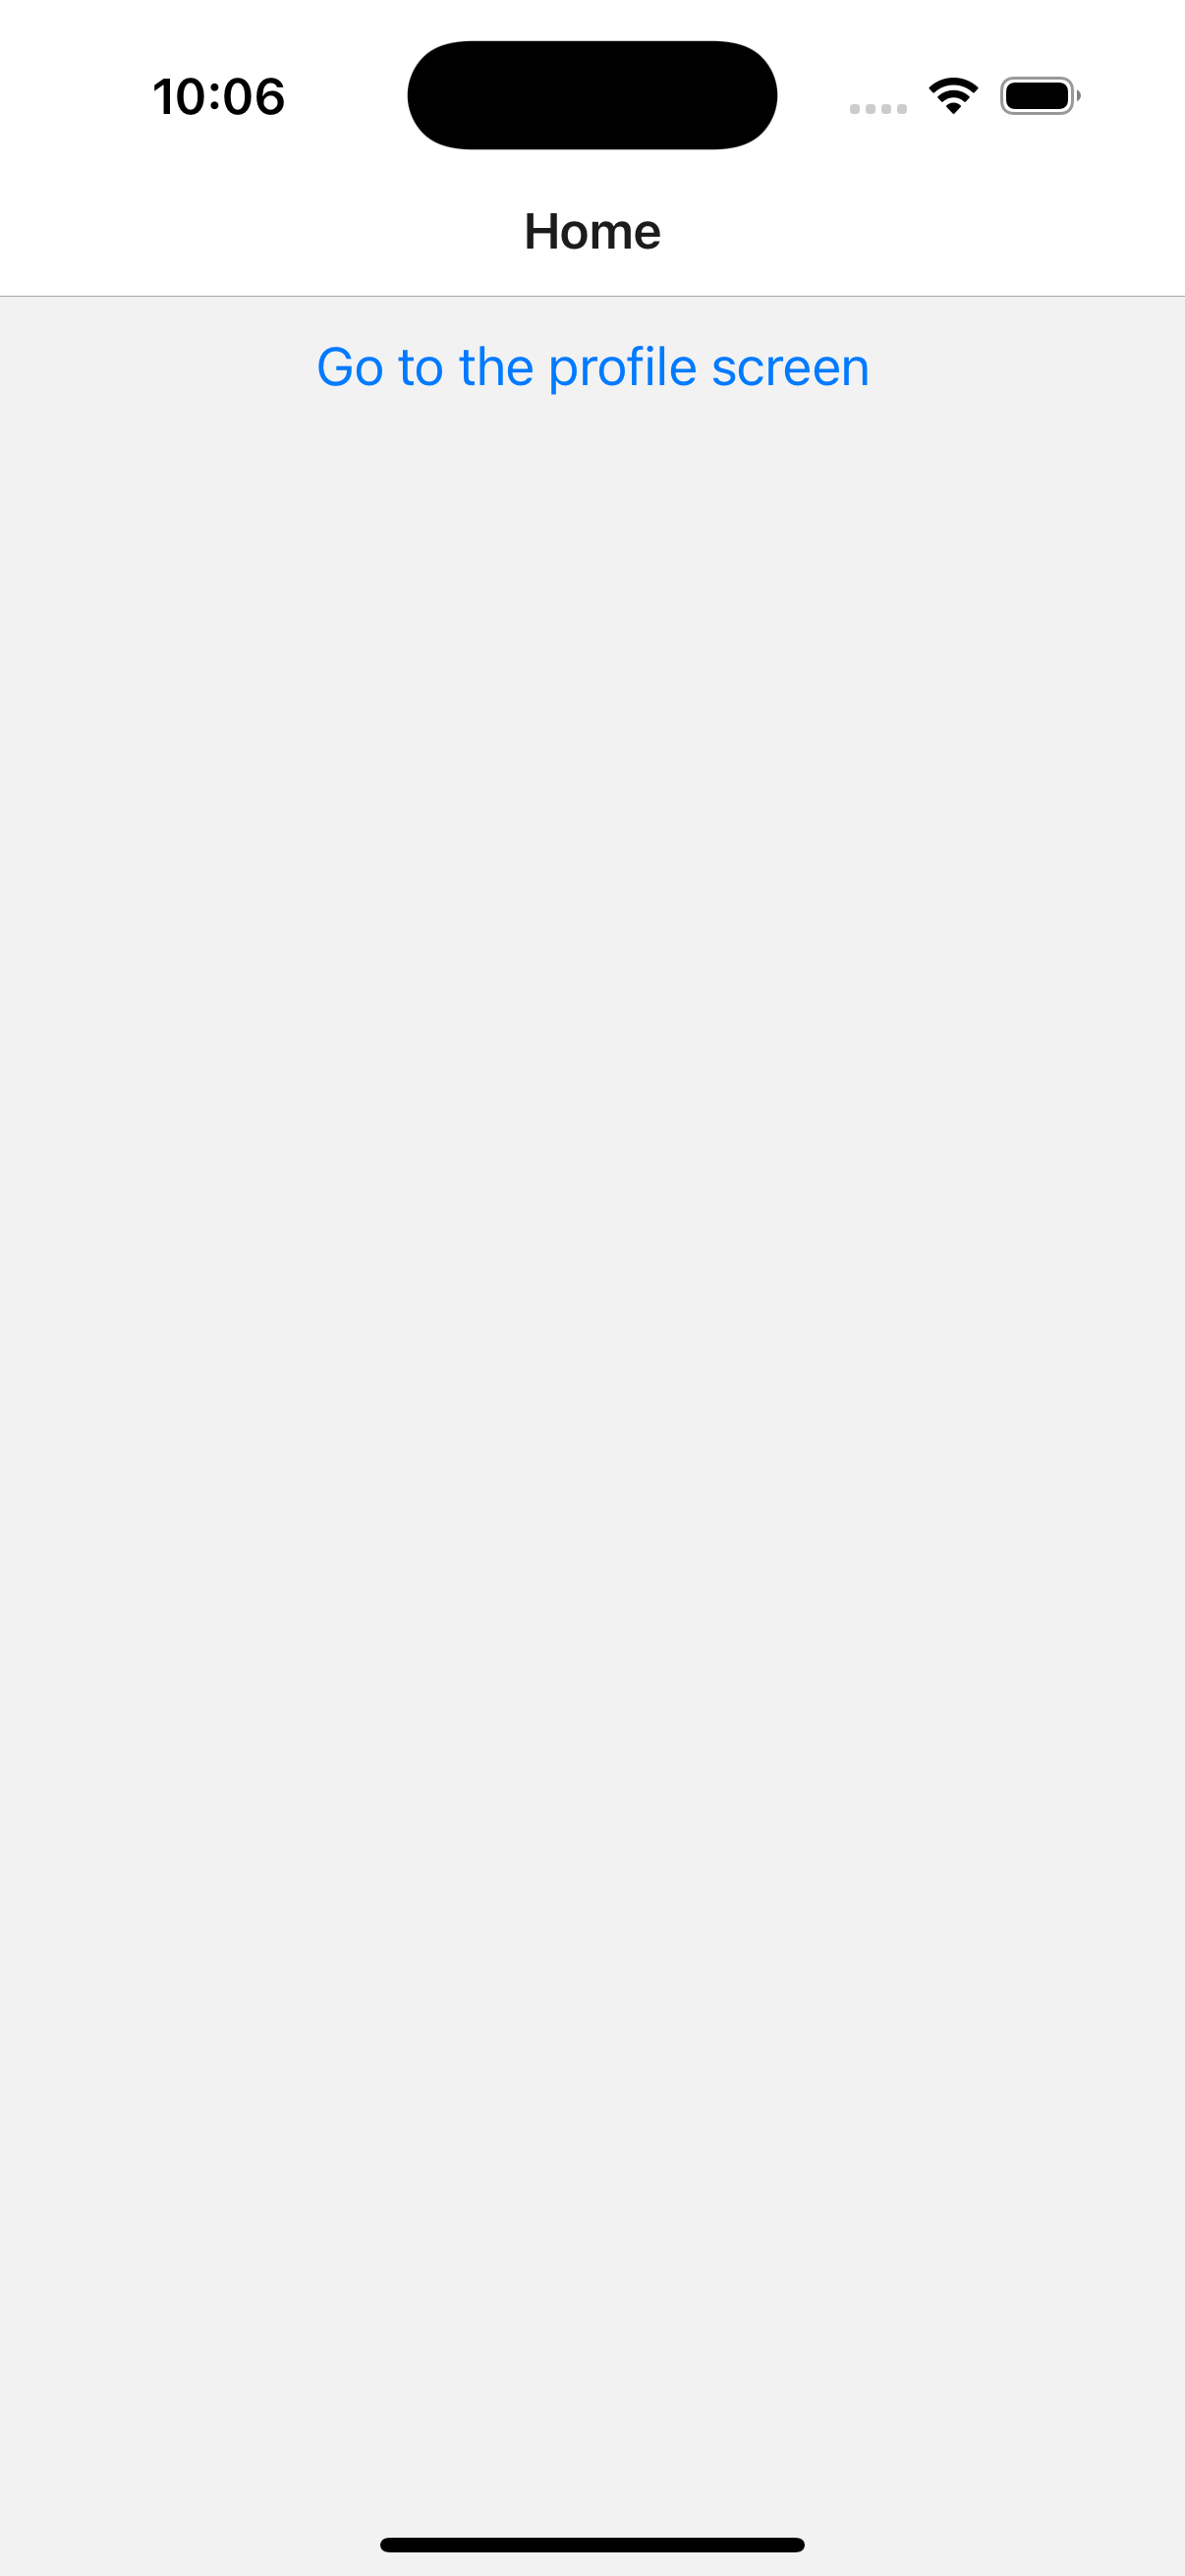
Home Screen

Profile Screen
If you'd like to remove the default headers this solution will disable all headers:
// App.tsx

/* imports */

const Stack = createNativeStackNavigator<RootStackParamList>();

function App(): React.JSX.Element {
  return (
    <NavigationContainer>
      <Stack.Navigator
        screenOptions={{
          headerShown: false, // ⭐️ disables header globally
        }}>
        <Stack.Screen name="Home" component={HomeScreen} />
        <Stack.Screen name="Profile" component={ProfileScreen} />
      </Stack.Navigator>
    </NavigationContainer>
  );
}

export default App;
0r for just specific screens:
// App.tsx

/* imports */

const Stack = createNativeStackNavigator<RootStackParamList>();

function App(): React.JSX.Element {
  return (
    <NavigationContainer>
      <Stack.Navigator>
        <Stack.Screen
          name="Home"
          component={HomeScreen}
          options={{
            headerShown: false, // ⭐️ disables header for just HomeScreen!
          }}
        />
        <Stack.Screen name="Profile" component={ProfileScreen} />
      </Stack.Navigator>
    </NavigationContainer>
  );
}

export default App;
```
Congratulations 🎉 You can now navigate between screens in your app!
To update your app's layout or background color check out 🔗 Using SafeAreaView with React Native Navigation!
If you want to read more or would like to reference the 🔗 Official React Native Navigation Docs!